Photos and files
Add site photos and documents, and choose who can see them.
Add files to a task
- Open the task and find Project Files on Details.
- Tap Upload file, then Click to select files. On a phone, you can take a photo or choose one from your gallery.
- Select your files and tap the upload button.
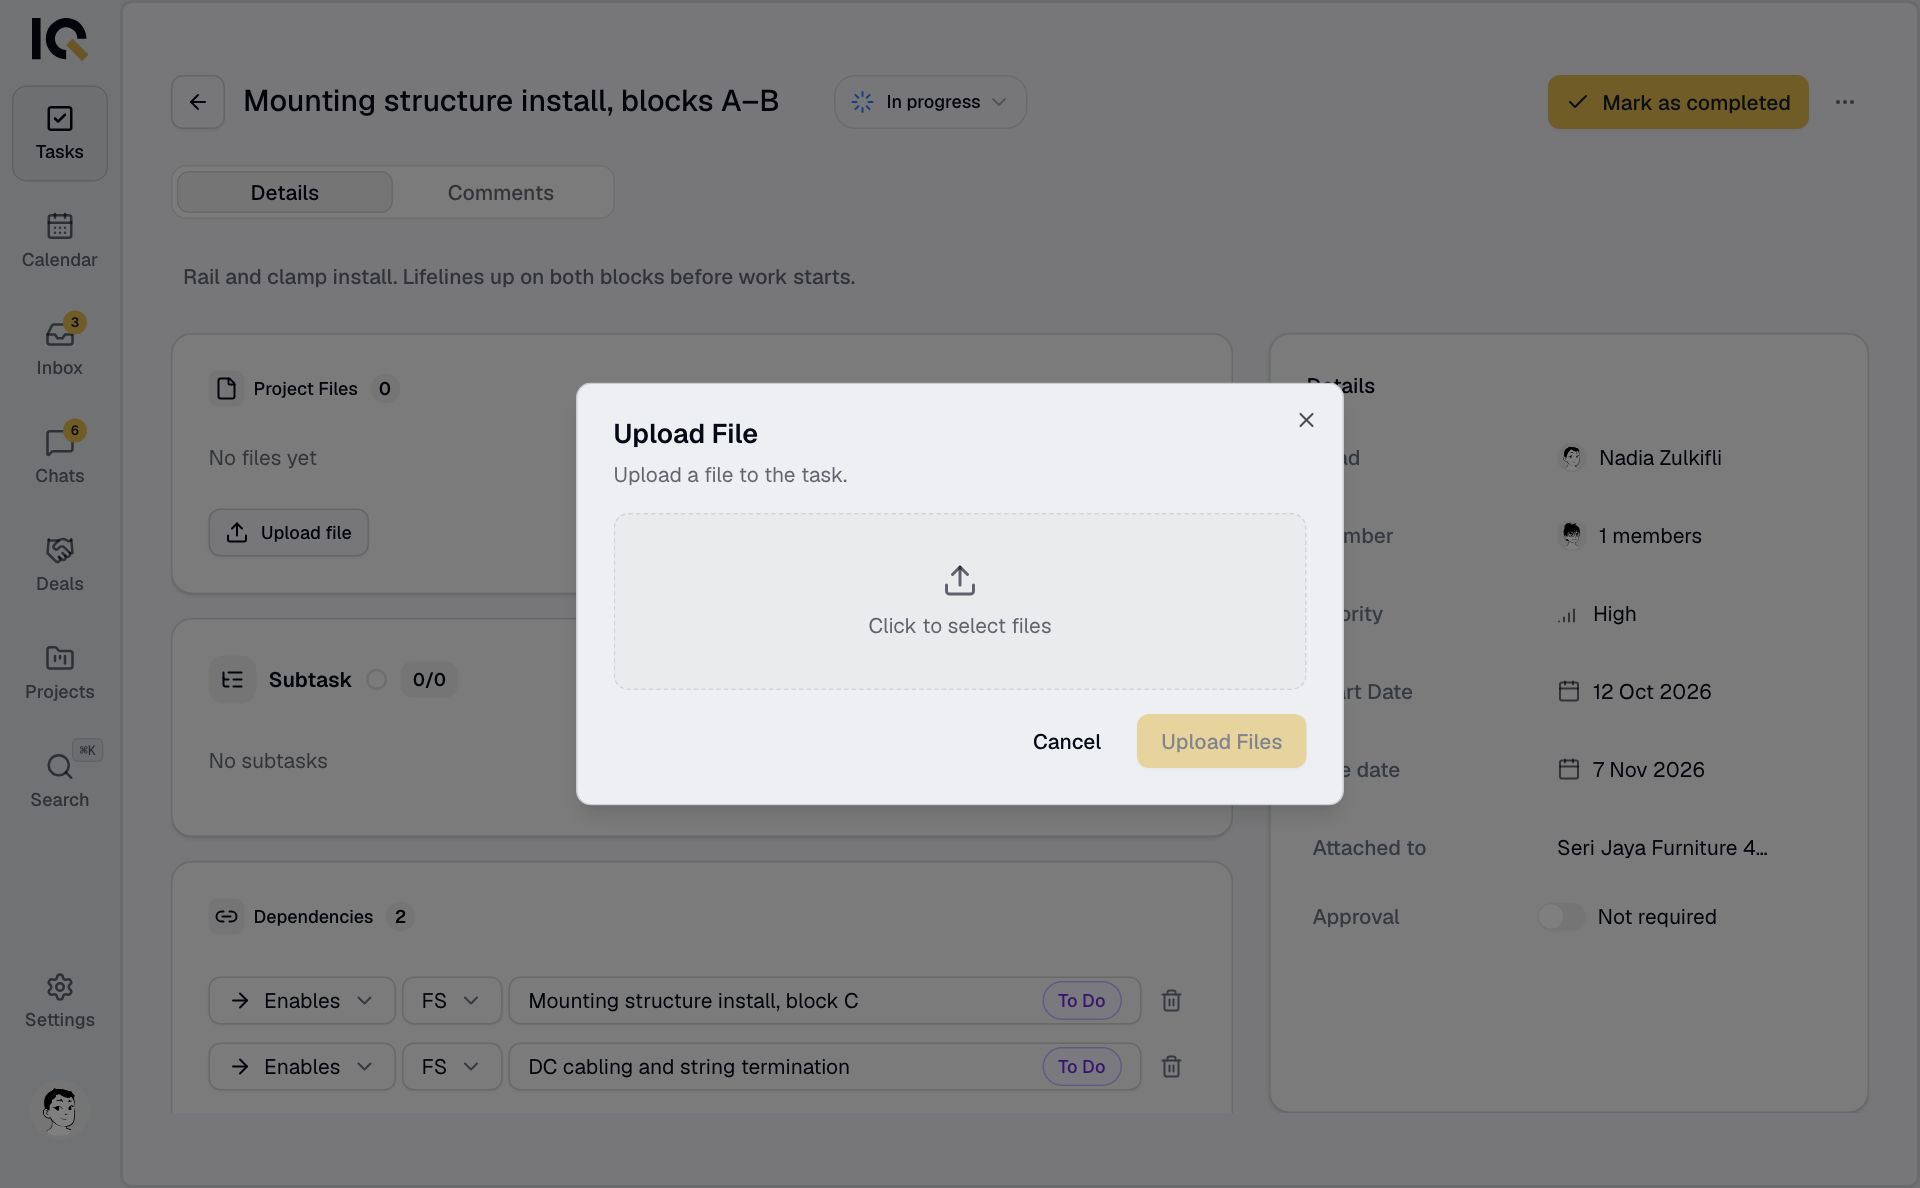
Uploading needs a connection. Removing a file from its last task or other location deletes it.
Add files to a project or deal
- Open Files. Open a folder first if you want to upload there.
- Tap + on a phone, or Add on a computer, then Upload file.
- Choose the files and tap Next.
- Choose who can access them, then tap Upload.
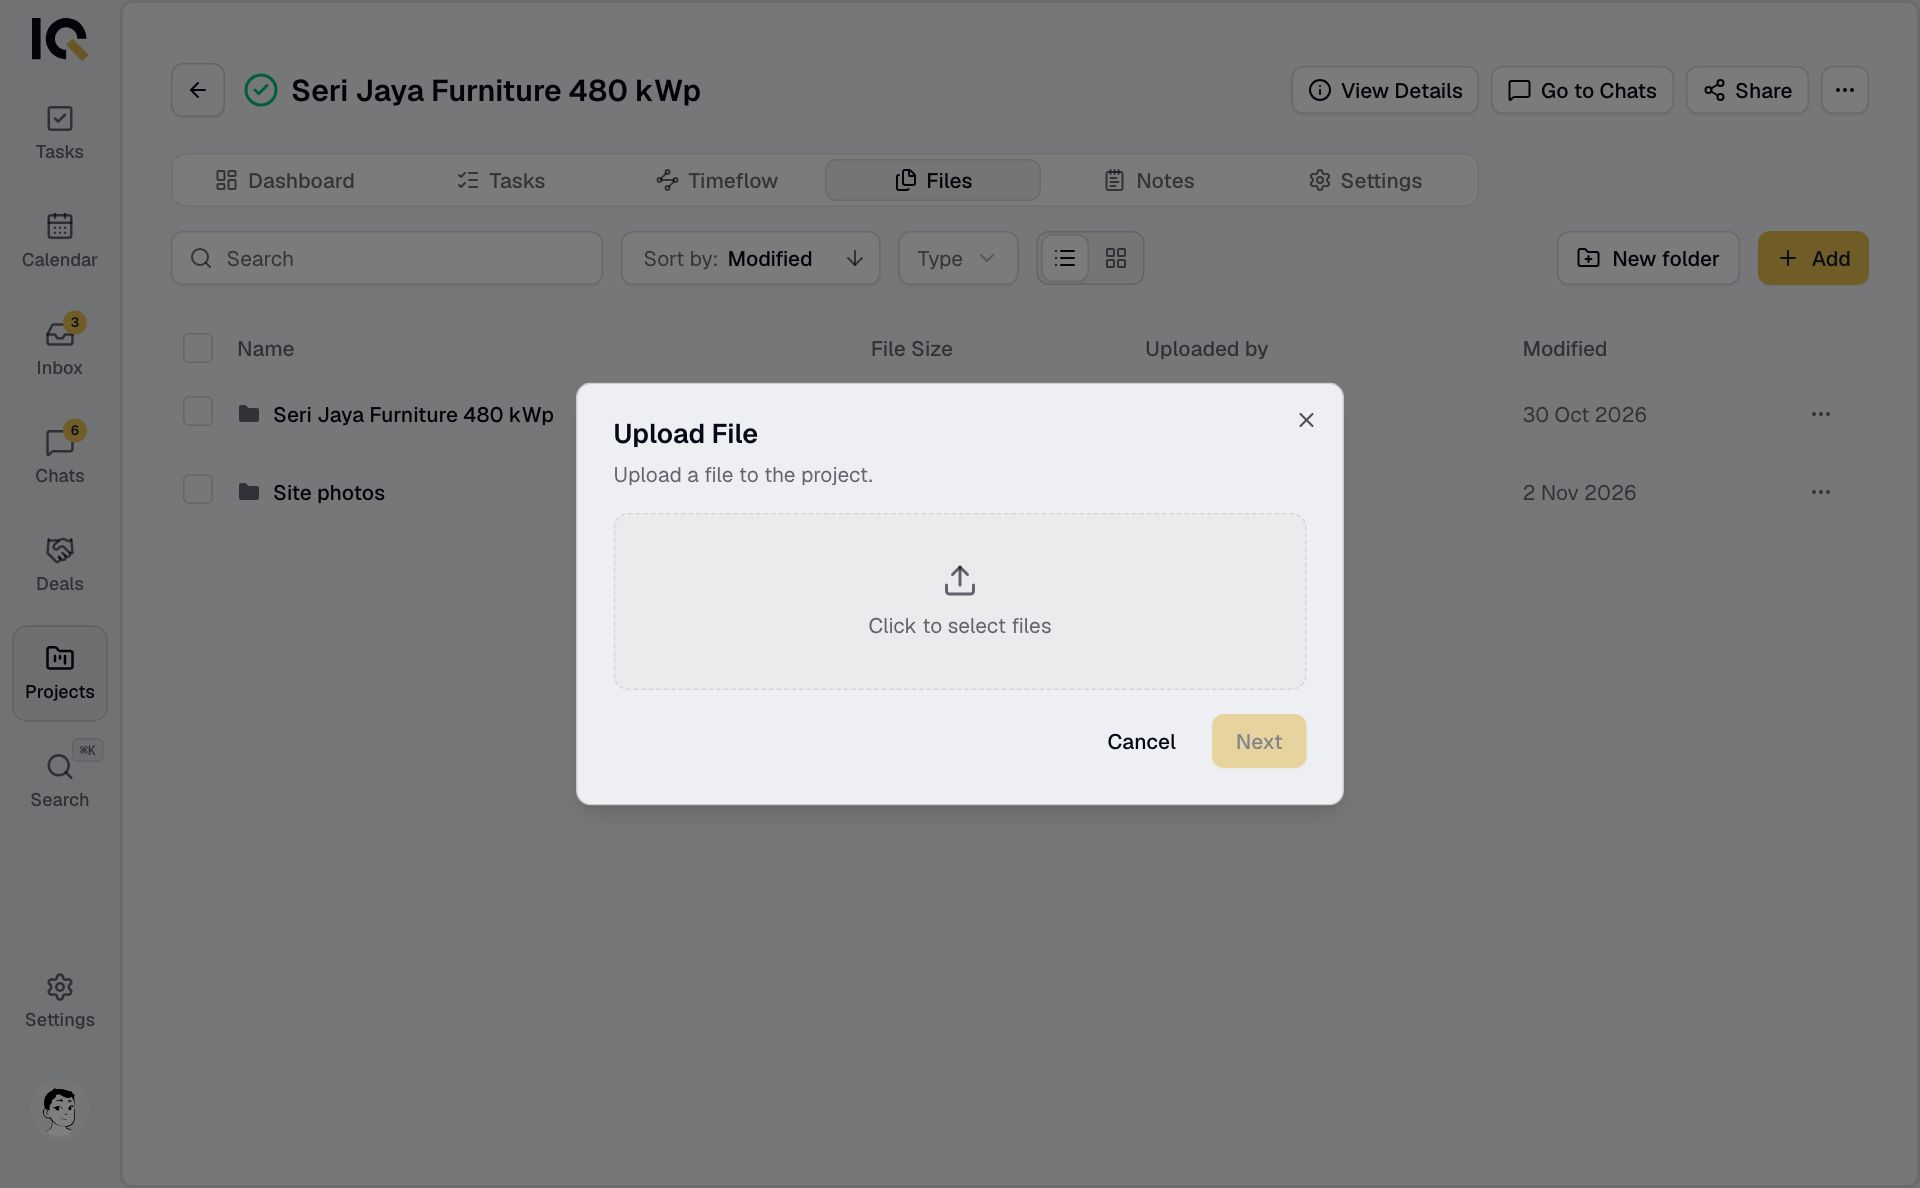
Restricted limits access to the uploader, the project lead or deal owner, and people given access, including through a task. Public makes a file available to everyone on the project or deal, including partner companies on shared projects.
Organise files
Use New folder to create a folder. On a phone, it is under +. Open a folder's ⋯ menu to rename, move or delete it.
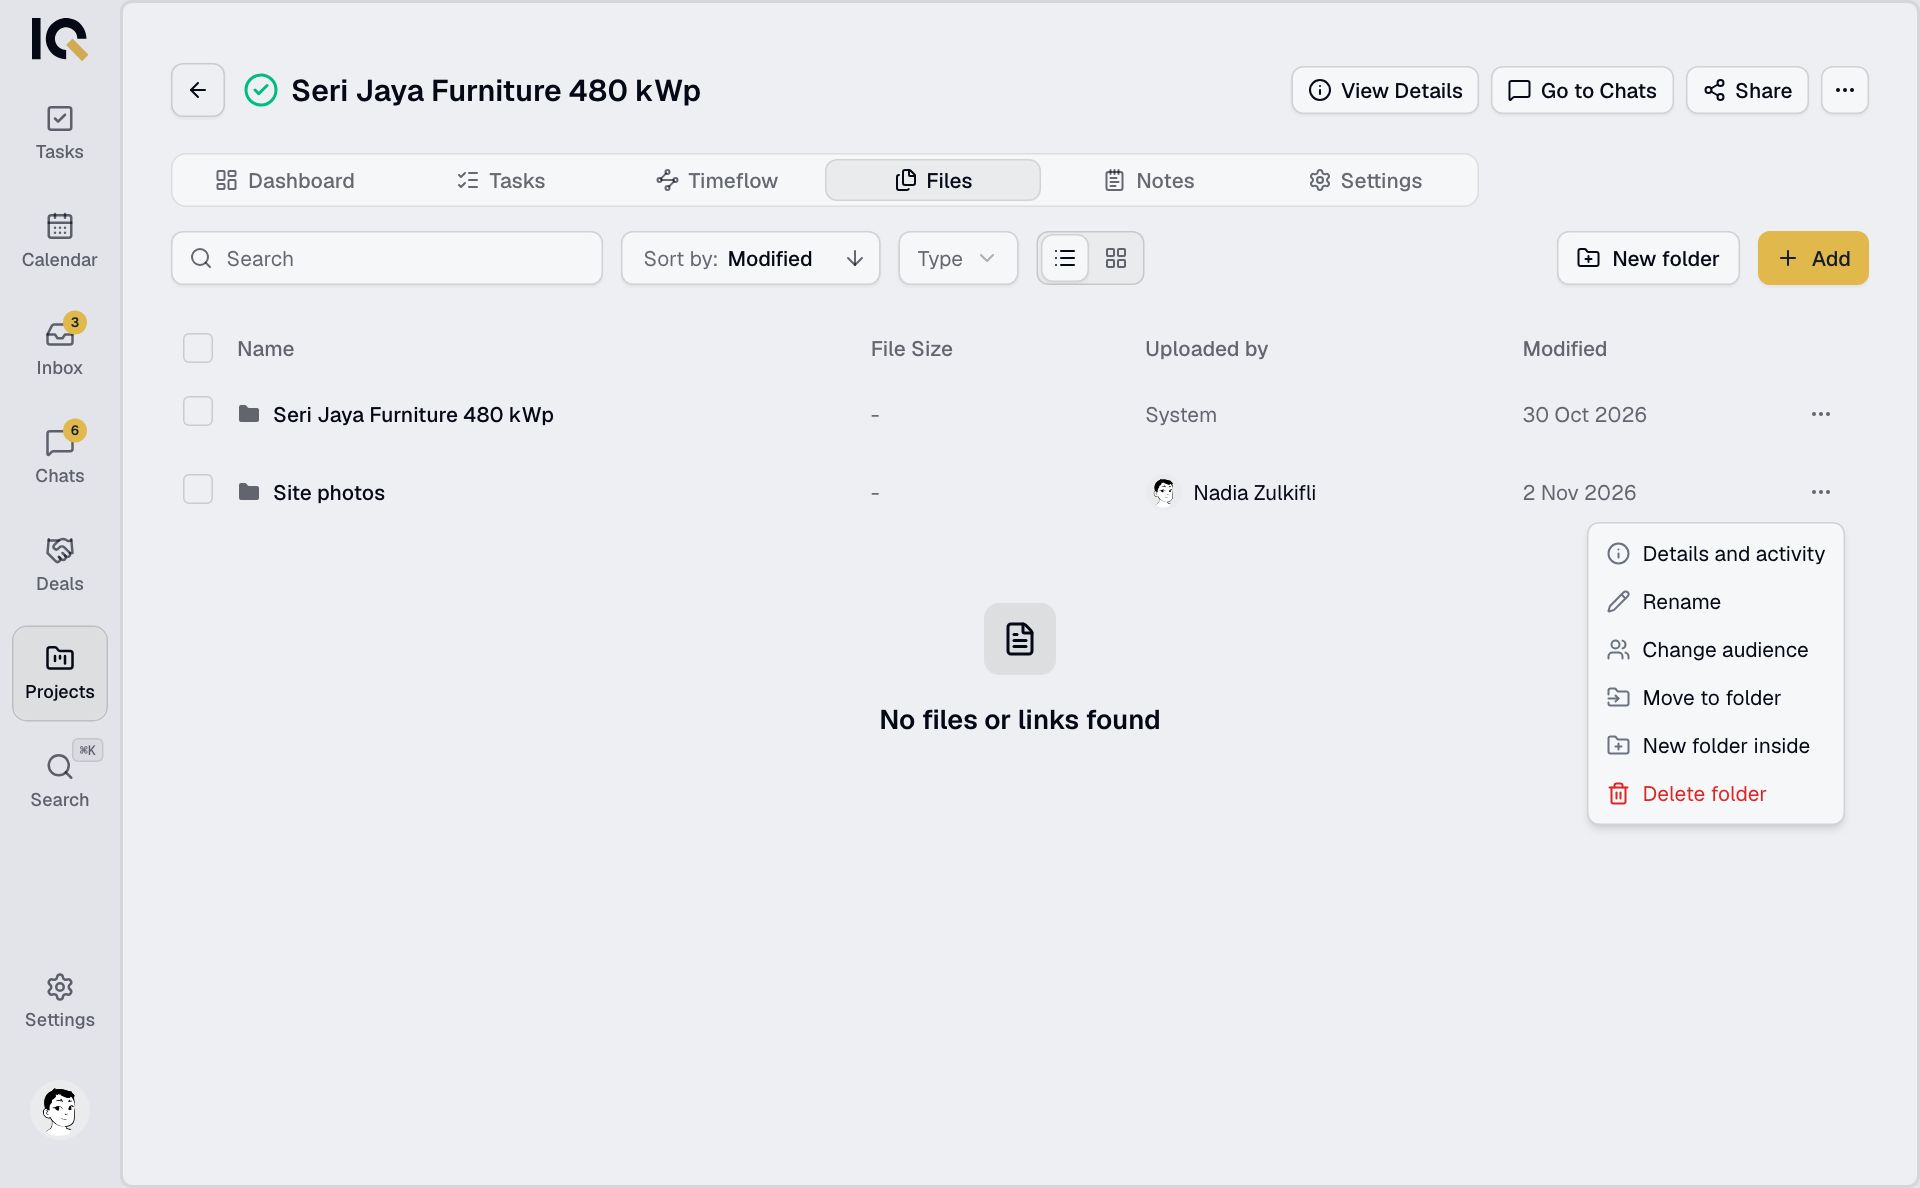
Deleting a folder moves its files to the top level. To limit who sees a folder, choose Change audience from its menu, if available.
Change file access
On a computer, open the file's ⋯ menu, select Details and activity, then Manage access. Update the access and save.
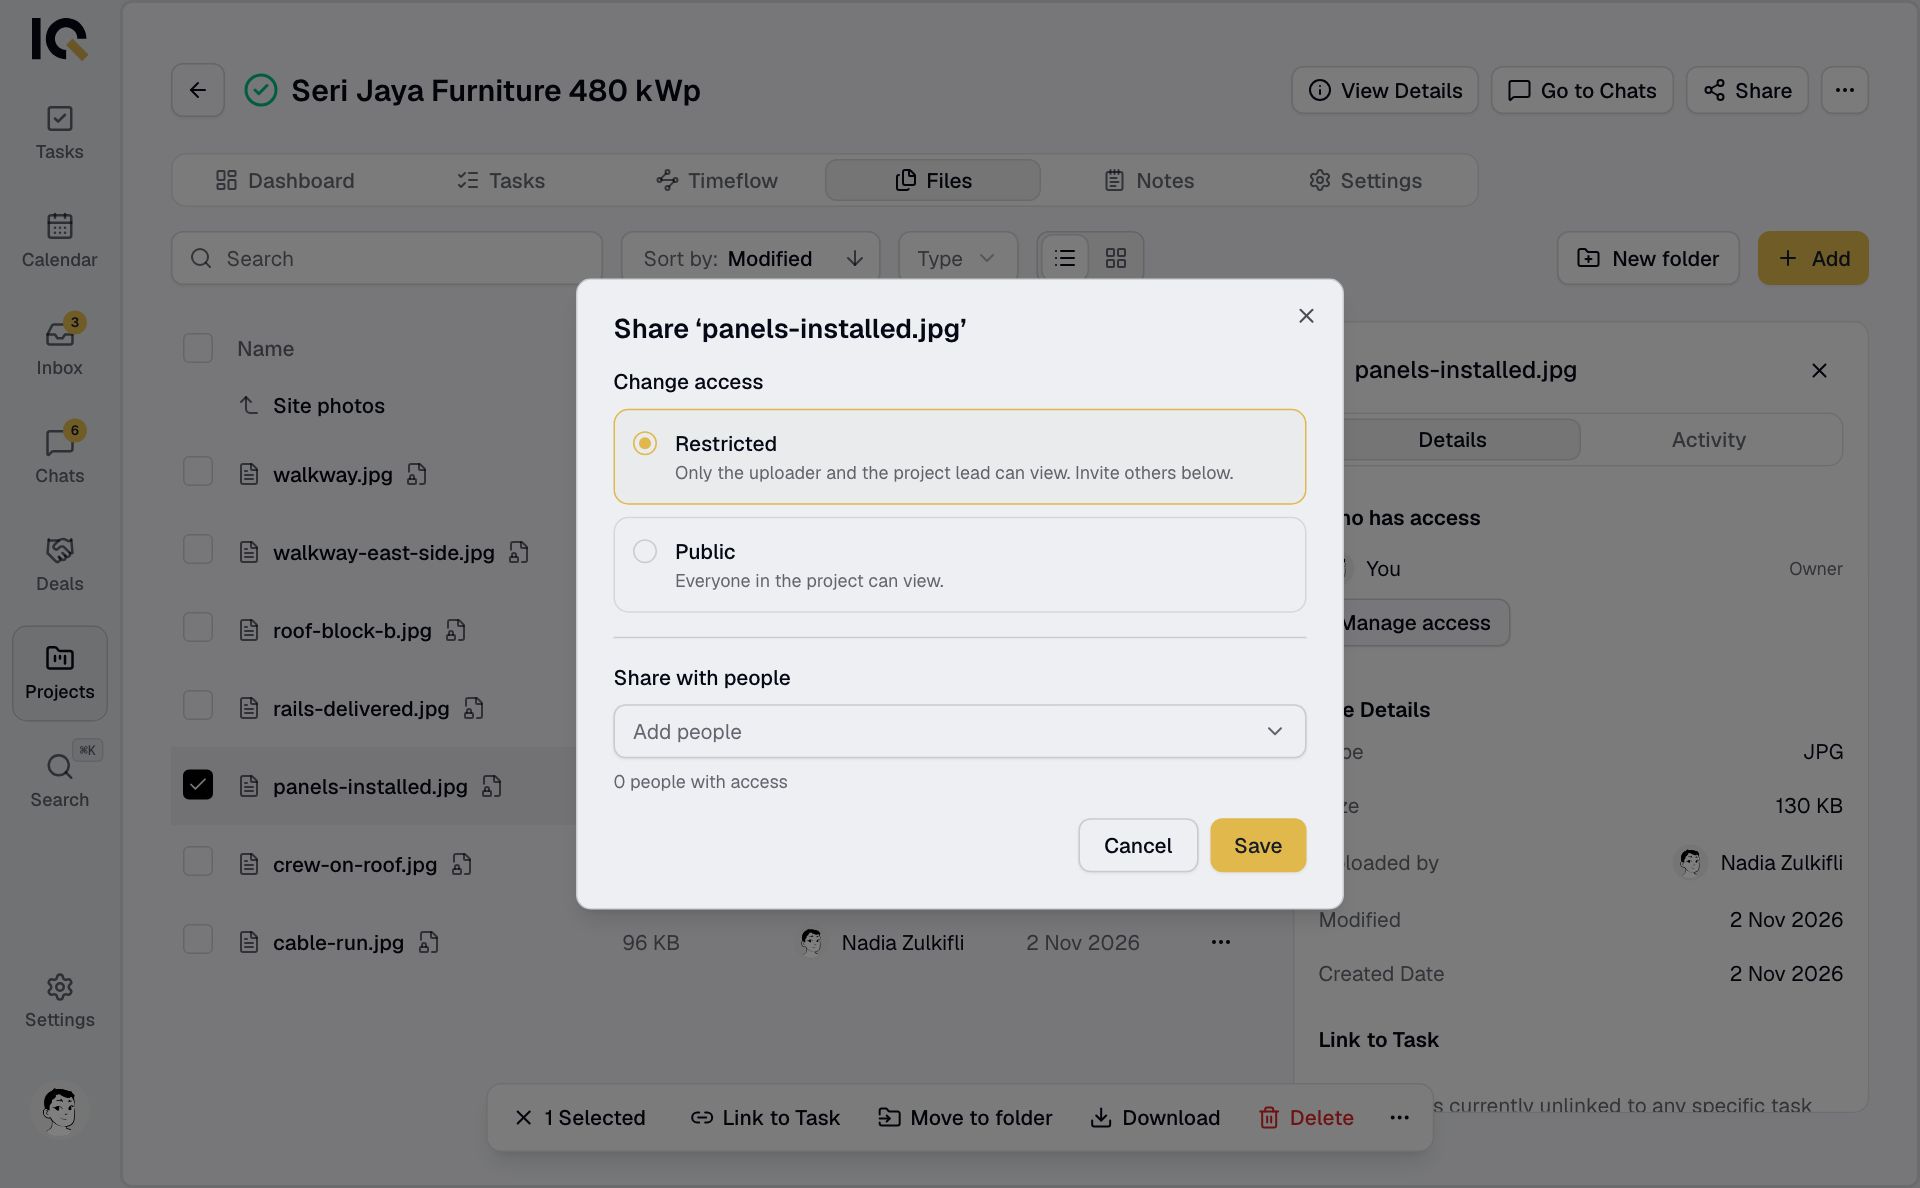
If you can't open a file or change its access, ask the uploader or project lead. Guests can open files on their tasks and in their chats. A folder's audience can further limit who sees its files.
Photos and files sent in a project chat are also saved in the project's Files, in a folder named after the chat.